
How To
How to Mount Your Artwork?
Aug
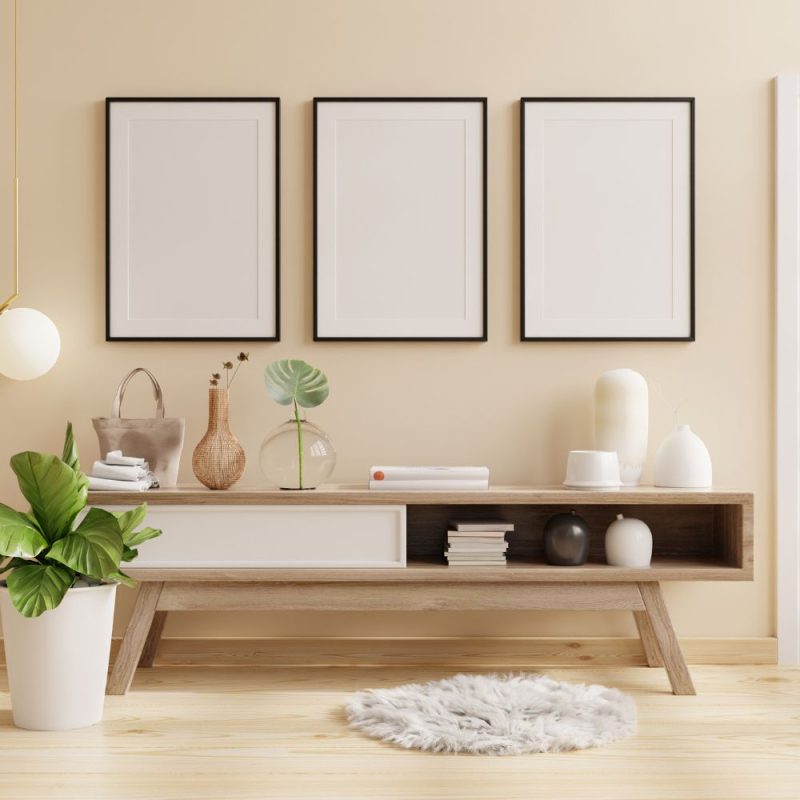
Mounting artwork on the wall can transform your space, adding a touch of personality and style to any room. Whether you’re displaying a gallery-quality canvas print or a cherished family photo, the right technique can make all the difference. Follow this step-by-step guide to ensure your artwork looks stunning and stays secure.
Step 1: Gather Your Supplies
Before you start, make sure you have all the necessary tools and materials:
- Measuring tape
- Pencil
- Level
- Hammer
- Nails or picture hooks
- Wall anchors (for heavier pieces)
- Painter’s tape (optional)
Step 2: Choose the Perfect Spot
Consider the room’s layout, lighting, and the height at which you want to hang your artwork. A common rule of thumb is to hang art at eye level, approximately 57-60 inches from the floor to the center of the piece. If you’re hanging multiple pieces, arrange them on the floor first to find the perfect layout.
Step 3: Measure and Mark
Use a measuring tape to find the center of the wall or the spot where you want to hang your artwork. Mark the spot lightly with a pencil. For larger pieces, measure the distance from the top of the frame to the hanging hardware, then transfer this measurement to the wall to ensure accurate placement.
Step 4: Check for Level
Using a level, make sure your marks are perfectly horizontal. This step is crucial to ensure your artwork hangs straight. If you’re hanging multiple pieces, use painter’s tape to create a straight line across the wall, serving as a guide for even spacing.
Step 5: Install Wall Anchors (if needed)
For heavier artwork, wall anchors are essential to prevent your piece from falling. Drill a hole slightly smaller than the anchor, insert the anchor into the wall, and tap it gently with a hammer until it’s flush with the surface.
Step 6: Hang the Artwork
Position the nail or picture hook at the marked spot and gently tap it into the wall. If you’re using wall anchors, insert the screw into the anchor and leave a small portion sticking out to hang the artwork. Carefully place your artwork on the hook or screw, ensuring it’s secure.
Step 7: Adjust and Admire
Step back and admire your handiwork! Make any final adjustments to ensure the piece is level and positioned correctly. If you’re hanging multiple pieces, check the spacing and alignment one last time.
Tips for a Perfect Display
- For a cohesive look, consider the style and color scheme of your room when choosing artwork.
- Mix and match different sizes and shapes for an eclectic gallery wall.
- Use picture-hanging wire for easy adjustments and added security.
- Avoid hanging artwork in direct sunlight to prevent fading.
By following these steps, you can confidently mount your artwork on the wall and create a stunning display that enhances your home’s aesthetic. Happy decorating!